Why Painting Wood is More Than Just Slapping on a Coat
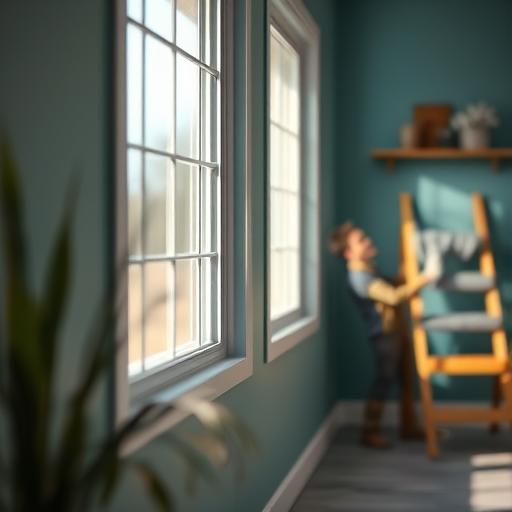
There’s something truly special about a freshly painted wooden door, trim, or deck. It brings a crisp, clean feel to any space, but achieving that look requires more than just a brush and a can of paint. Without the proper prep work, you could end up with a peeling, chipping mess in just a few months. If you want a truly flawless finish without the hassle, our team of residential painters edmonton has the expertise to make your vision a reality.
Think of painting wood as a three-part harmony: preparation, application, and protection. Each step builds on the last, and skipping one can throw the whole project off-key. From choosing the right products to applying them with care, every detail contributes to a final product that not only looks great but also stands up to daily wear and tear, and even the elements. Let’s get into the secrets that separate an amateur job from a professional one.
The All-Important First Step: Preparation and Sanding
Before you even think about opening a can of primer, your wood surface needs a thorough cleaning. Dust, grime, grease, and old, flaky paint are your worst enemies. For interior wood, a simple mixture of mild soap and water or a TSP (trisodium phosphate) substitute works wonders. For exterior surfaces battling mildew or algae, a specialized wood cleaner or a diluted bleach solution might be necessary. Make sure the surface is completely dry before moving on.
Sanding creates a smooth canvas and helps the primer grip the surface for a stronger bond. For bare wood, start with a medium-grit sandpaper (around 120-grit) and finish with a fine-grit (220-grit) for a silky-smooth feel. If you’re painting over an existing finish, a light scuff-sanding is usually enough to dull the sheen. Always sand in the direction of the wood grain to avoid unsightly scratches. After sanding, wipe away all the dust with a tack cloth or a damp rag. Don’t skip this wipe-down!
The Unsung Hero: Choosing and Applying the Perfect Primer
Primer is the foundation of your paint job, so choosing the right one is critical. Oil-based (alkyd) primers are fantastic for blocking stains like water spots or wood tannins (the natural oils in woods like cedar and redwood that can bleed through paint). Water-based (latex) primers are a great choice for most general-purpose interior work; they are low-odor and clean up easily. For tricky surfaces or stubborn stains, a shellac-based primer is your ultimate problem-solver.
Apply a thin, even coat of primer using a high-quality brush or roller. The goal isn’t to create an opaque, solid-white surface; it’s to create a uniform base that the paint can adhere to properly. One coat is often sufficient, but for raw wood or dark colors, a second coat can provide better coverage and a more even final color. Let the primer dry completely according to the manufacturer’s instructions—patience is key here!
The Main Event: Painting Your Wood Like a Pro
Now for the fun part! When selecting your paint, consider the location. For interior trim and doors, a durable latex or acrylic-latex paint is usually the best bet. They offer great durability and easy cleanup. For exterior wood, you’ll want a paint formulated to withstand UV rays and moisture. The sheen you choose also matters. A satin or semi-gloss finish is perfect for trim and cabinets because it’s easy to clean, while a flat or matte finish can hide imperfections on walls or ceilings.
To avoid drips and brush marks, apply thin coats of paint. It’s always better to apply two thin coats than one thick, goopy one. Start at the top and work your way down. When using a brush, maintain a ‘wet edge’ by slightly overlapping your previous stroke. This helps blend the paint seamlessly. For large, flat surfaces like a door, a small foam roller can give you a super-smooth, spray-like finish.
Protecting Interior Wood: Defending Against Daily Life
Interior wood surfaces, especially things like cabinets, tabletops, and handrails, see a lot of action. The paint itself provides a layer of protection, but for high-traffic areas, you might consider an extra clear coat. A water-based polyurethane or polycrylic topcoat can add a serious layer of defense against scratches, scuffs, and spills. These products are clear, so they won’t alter the beautiful color you just applied.
Proper care will keep your painted wood looking fresh for years. Clean surfaces with a soft cloth and a gentle cleaner; avoid abrasive sponges or harsh chemicals that can dull or damage the finish. For minor nicks and scratches, it’s a great idea to keep a small amount of leftover paint for quick touch-ups. A little maintenance goes a long way in preserving that just-painted look.
Protecting Exterior Wood: Battling Mother Nature
Exterior wood is constantly at war with sun, rain, snow, and temperature swings. The best protection is a high-quality exterior paint designed specifically for these conditions. These paints contain additives that resist mildew growth, prevent fading from UV exposure, and remain flexible as the wood expands and contracts with changing weather. A proper paint job is your wood’s first and best line of defense.
Even the best paint job won’t last forever against the elements. Plan on a regular inspection schedule, at least once a year. Look for signs of cracking, peeling, or blistering paint, especially on horizontal surfaces like deck railings or window sills where water can sit. Addressing these small issues early by cleaning, sanding, and touching up the area can prevent a much larger and more expensive repainting project down the road. Stay vigilant!
The Finishing Touches and When to Call for Help
Once your final coat is dry, it’s time for the finishing touches. Carefully remove any painter’s tape, pulling it away from the painted edge at a 45-degree angle for a crisp line. Reinstall any hardware you removed, like doorknobs or hinges. Then, step back and admire your work! You’ve successfully protected and beautified your wood, adding value and appeal to your home. It’s a rewarding feeling.
While painting can be a satisfying DIY project, it also requires time, patience, and the right tools. If you’re facing a large project, dealing with intricate details, or simply prefer a guaranteed professional result, there’s no shame in calling in the experts. A professional painting company can handle all the prep, painting, and cleanup, leaving you with a perfect finish and peace of mind. Your home deserves the best, whether you do it yourself or bring in a pro.